1 Install
Install via Homebrew (macOS and Linux):
brew install builder-magic/tap/timebound-iam
Or via Go: go install github.com/deepmesa/timebound-iam@latest
Or download a binary from GitHub Releases (macOS, Linux, Windows).
2 Run the Setup Wizard
The setup wizard detects your AWS account, lets you choose which services to allow, and generates the IAM policies you need.
timebound-iam setup aws
For a named profile: timebound-iam setup aws --profile my-profile
The wizard will display your account info and the full list of supported services:
AWS Account: 123456789012
Broker Role ARN: arn:aws:iam::123456789012:role/timebound-iam-broker
Available services:
1. acm [read_only, full]
2. apigateway [full]
3. athena [full]
4. bedrock [read_only, full]
5. cloudformation [read_only, full]
6. cloudfront [read_only, full]
7. cloudtrail [read_only, full]
8. cloudwatch [read_only, full]
9. cloudwatch-logs [read_only, full]
10. codecommit [read_only, full]
11. codebuild [read_only, full]
12. codepipeline [read_only, full]
13. cognito [read_only, full]
14. comprehend [read_only, full]
15. config [read_only, full]
16. dynamodb [read_only, full]
17. ec2 [read_only, full]
18. ecr [read_only, full]
19. ecs [full]
20. elasticache [read_only, full]
21. elasticsearch [read_only, full]
22. elb [read_only, full]
23. emr [read_only, full]
24. eventbridge [read_only, full]
25. glue [full]
26. guardduty [read_only, full]
27. iam [read_only, full]
28. kinesis [read_only, full]
29. kms [full]
30. lambda [read_only, full]
31. opensearch [read_only, full]
32. polly [read_only, full]
33. redshift [read_only, full]
34. rekognition [read_only, full]
35. route53 [read_only, full]
36. s3 [read_only, full]
37. sagemaker [read_only, full]
38. secretsmanager [read_only, full]
39. ses [read_only, full]
40. ssm [read_only, full]
41. sqs [read_only, full]
42. sns [read_only, full]
43. stepfunctions [read_only, full]
44. textract [full]
45. translate [read_only, full]
46. waf [read_only, full]
Which services should the broker role allow?
Enter numbers separated by commas (e.g. 1,2,5) or 'all':
> all
Selected services: acm, apigateway, athena, bedrock, ...
After you select services, the wizard outputs the IAM trust policy and inline policy to create the broker role.
3 Create the IAM Role
Create a role named timebound-iam-broker in the AWS Console (or via CLI). The wizard generates both policies for you.
Trust policy (paste into "Trust relationships" tab):
{
"Version": "2012-10-17",
"Statement": [
{
"Effect": "Allow",
"Action": "sts:AssumeRole",
"Principal": {
"AWS": "arn:aws:iam::123456789012:root"
}
}
]
}
Inline policy (paste into "Permissions" > "Add inline policy" > JSON):
{
"Version": "2012-10-17",
"Statement": [
{
"Effect": "Allow",
"Action": [
"acm:Describe*",
"acm:Get*",
"acm:List*",
"apigateway:*",
"bedrock:Get*",
"bedrock:List*",
"cloudformation:Describe*",
"cloudformation:Get*",
"cloudformation:List*",
... (actions for all selected services)
],
"Resource": "*"
}
]
}
The policy only includes actions for the services you selected. Choosing fewer services means a tighter policy.
4 Register with Claude Code
Add timebound-iam as an MCP server so your agent can request credentials.
claude mcp add --scope user timebound-iam -- timebound-iam serve
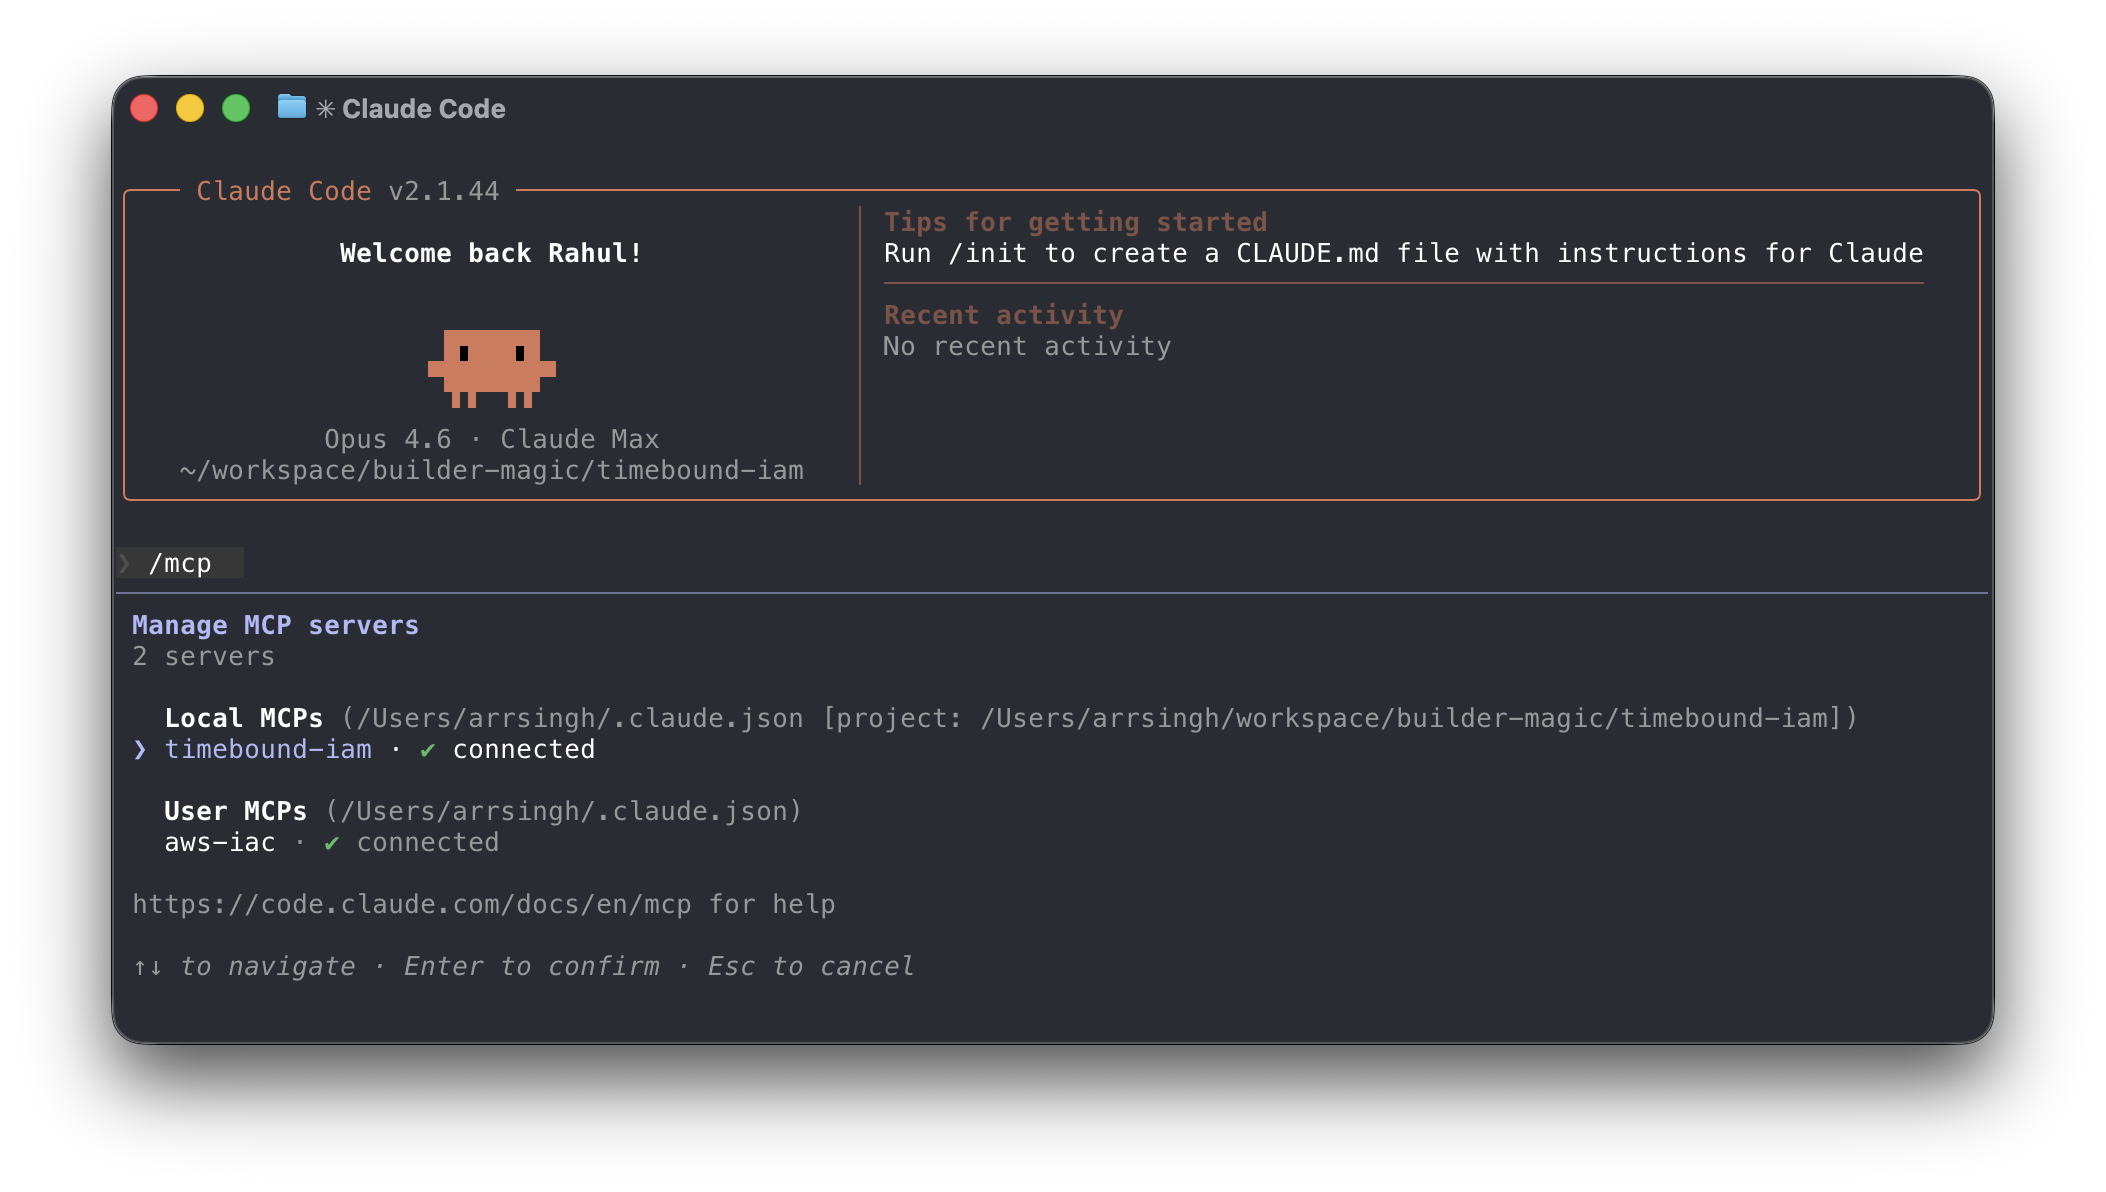
Then restart Claude Code and verify that the MCP Server is installed and running with the /mcp command.
5 Verify
Run the built-in test to confirm everything is wired up correctly.
timebound-iam test
This will attempt to assume the broker role and verify that credentials can be generated.